It’s important to add Google Analytics to your WooCommerce store to grow it. One has to analyze the statistics and data and plan the content strategy accordingly. Tracking performance is the only way to beat the competition. I am sure you understand how important it is.
Fortunately, Google Analytics offers an enhanced eCommerce tracking system. That is where you will understand all the customer behavior towards your website. Certainly, that would help you to optimize the website further and make more sales and revenue out of it.
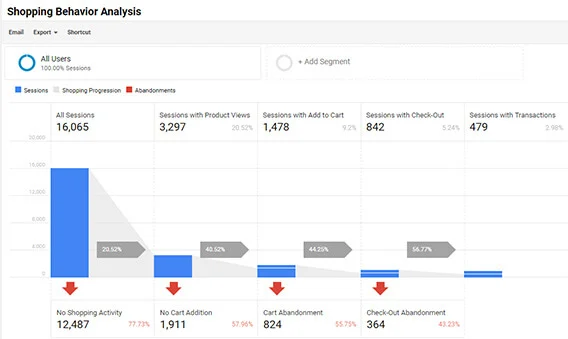
- Shopping Behavior
- Customer Checkout Behavior
- Individual Product Lists Performance
- Sales Trend (Transactions)
How to Set Up WooCommerce Google Analytics Using Enhanced eCommerce
We will be good to set up enhanced Google Analytics for your WooCommerce store if you follow below quick steps.
Step 1: Install MonsterInsights and the eCommerce Addon
- Quickly install and activate MonsterInsights on your WordPress site to get started. It is well known and has become one of the best Google Analytics plugins around.
It efficiently correlates all the required data and provides great insights to you to be able to optimize your store. Without getting your hands dirty by touching code.
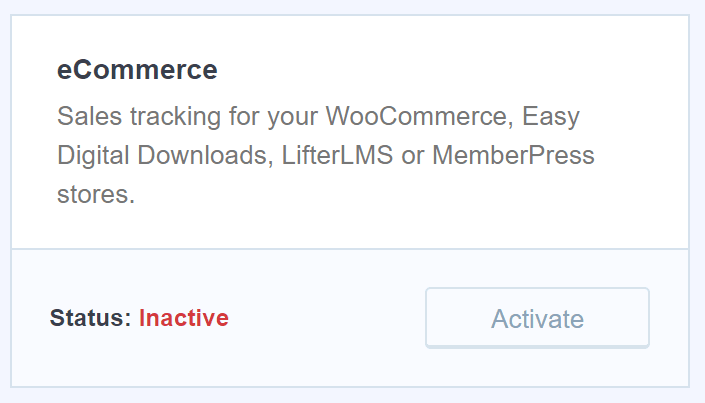
I believe that you have installed the MonsterInsights WordPress Plugin. Now, we have to activate the eCommerce Add-in in order to set up enhanced eCommerce for the WooCommerce Google Analytics tracking.
- Go to Insights >> Addons and then navigate to the e-Commerce section. Click on the Activate Button.
As you have already activated the e-Commerce Add-on, now let’s hop into our Google Analytics Account.
Step 2: Enable Enhanced eCommerce Tracking in Google Analytics
- Log in to your Google Analytics to access the dashboard.
- Select the account you want to activate Enhanced eCommerce tracking for.
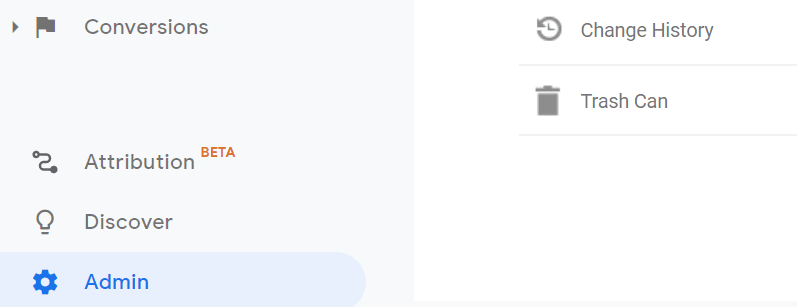
- Now, click on Admin (Gear Icon) from the bottom left in Google Analytics.
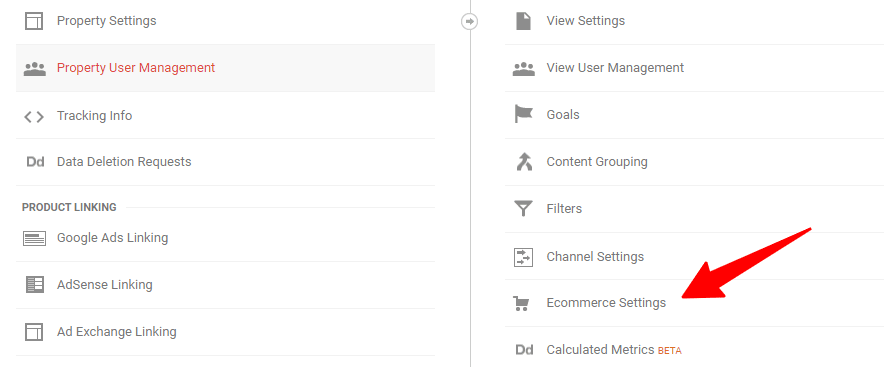
- Click on E-commerce Settings from the right column. Check the image below.
Now this will provide two more options in the e-commerce setup, which need to be enabled.
- E-Commerce Set-up
- Enable Enhanced E-commerce reporting
- Enable both options to activate enhanced E-commerce tracking.
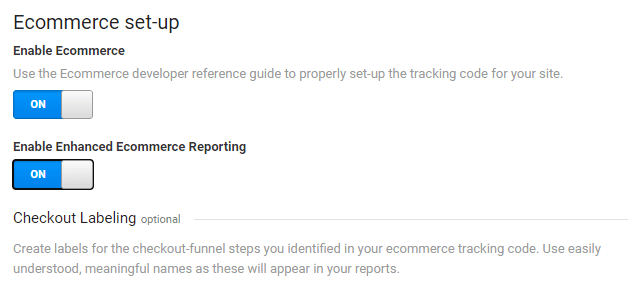
- Click on the Save button.
Step 3: Enable Enhanced eCommerce in MonsterInsights
As you have enabled the enhanced e-Commerce tracking system. It now needs to enable Monster Insights, too, so that you can see the detailed data right from there.
- Jump into your WordPress Dashboard >> Insights >> Settings.
- From the top tab, select e-Commerce
- Enable the option Use Enhanced eCommerce to get started
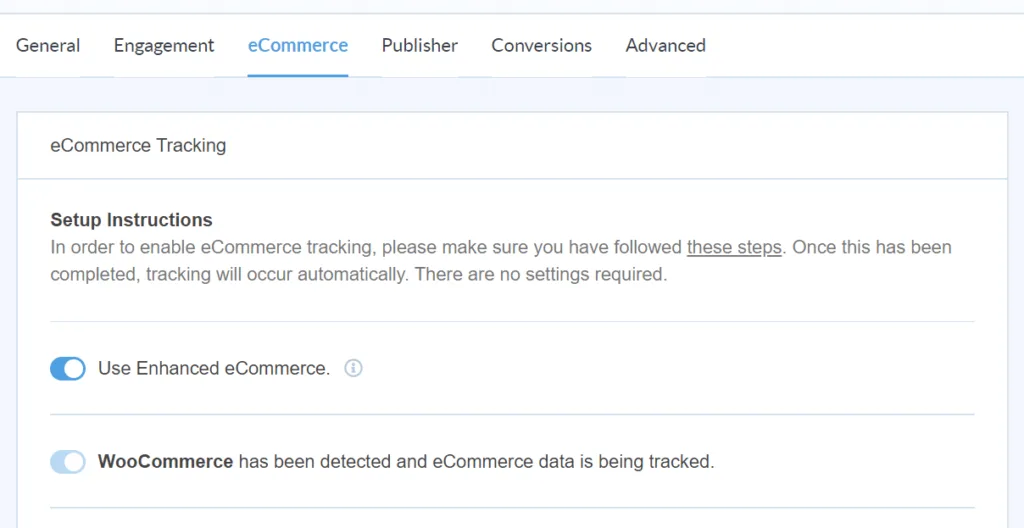
That’s it. We are good now. This will automatically start tracking your WooCommerce store.
The tracked data will be so detailed that you will get each and every aspect of the user behavior. To find the tracked data Insights
Analyze the data and make decisions in your favor to grow your business.
Recommended Read: How to Create Event Tracking with Google Analytics in WordPress